Wilmslow Astro
Astronomy from a Cheshire suburb
Replacing the Losmandy Gearboxes
The gearboxes supplied with the G11 are pretty poor quality and I searched for some time to find a viable alternative. Eventually a suitable candidate came up from a UK manufacturer called McLennan. They produce a 'precision' range of ovoid gearboxes with part numbers beginning P5-G11 - were they just meant to be!
These are not a perfect replacement because they do adhere to the ovoid gearbox standards as far as dimensions they are of course European and so all the threads and shafts are in metric sizes rather than imperial.
Another mismatch is that the output shaft rotates in the opposite direction to the standard Losmandy gearbox, luckily the Gemini system has the facility under 'custom mount' to alter the this. In fact if both RA and Dec gearboxes are being replaced, then all you have to do is select MI250 as the mount type rather than G11 and Gemini will be setup for the new McLennan gearboxes!
Below is step by step guide to fitting the new gearboxes. Before you start you will need:
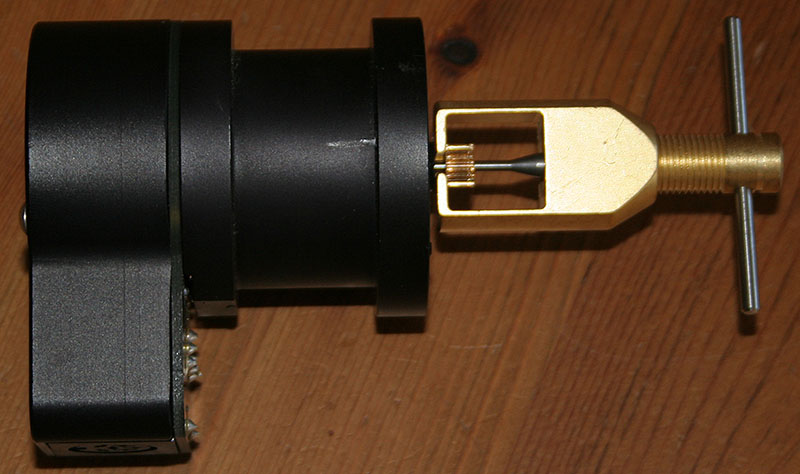
- One (or two if doing the Dec axis as well) McLennan P5-G11-L82 gearboxes supplied with a 2mm bore pinion wheel
- A pinion puller for removing the existing pinion from the motor shaft(s)
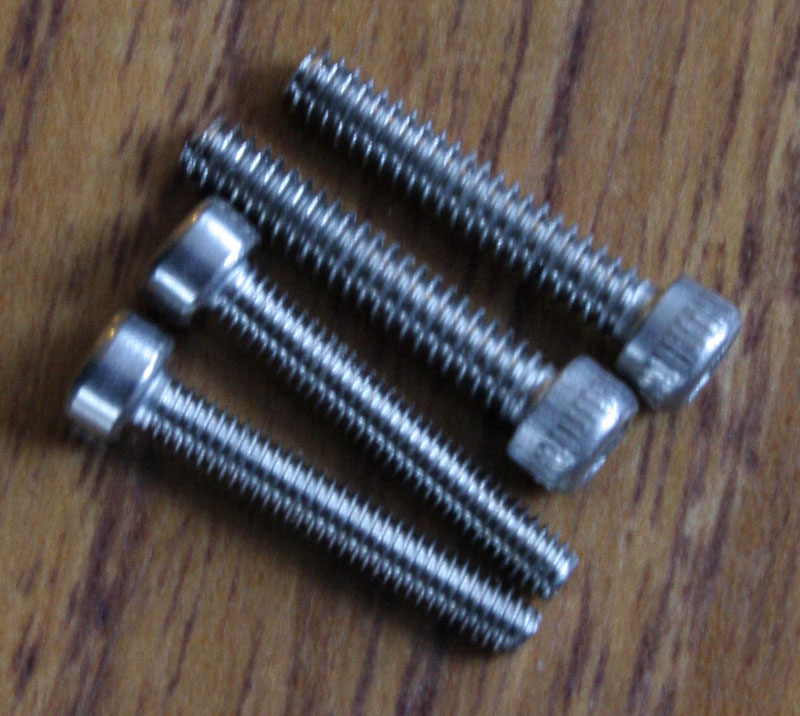
- Two (or four) M2.5 x 16 cap head stainless Allen screws (anything longer than 12mm will do)
- A length of 3/16" external diameter 0.014" wall thickness brass or aluminium tubing
- A tube of high strength Loctite, super glue, or pinion glue
- 4mm and 3mm drill bits
- Imperial and metric Allen keys
- A junior hacksaw or a micro pipe cutter
I have listed some UK suppliers for various bits below the instructions.
| Step 1. Remove the motor and gearbox from your mount. This is documented in detail in quite a few places so I will not repeat it here. | |
 | Step 2. Remove the old pinion from the motor with a pinion puller. |
 | Step 3. Attach the new pinion to the motor shaft. Put a dab of glue inside the pinion with a cocktail stick, and slide it onto the shaft. Wipe off any excess adhesive, and use the thin end of the spacer provided with the gearbox. |
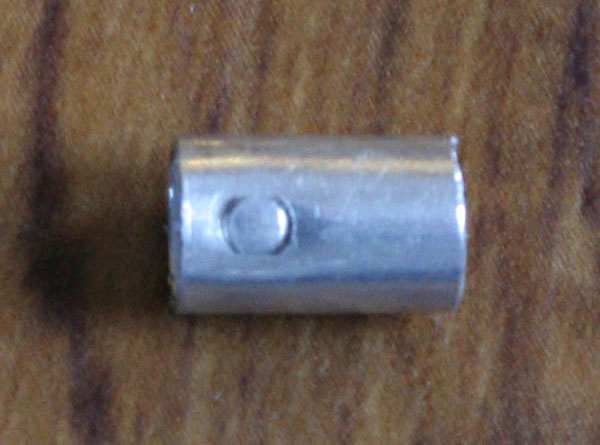 | Step 4. Cut a length of the 3/16" brass or aluminium tubing to fit over the gearbox output shaft. It should be about 8mm long. |
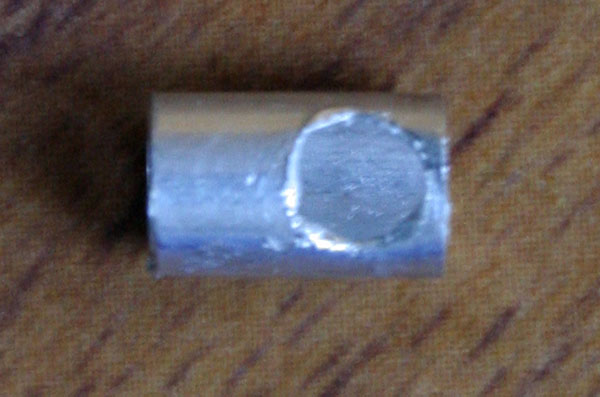 | Step 5. Drill a 3mm hole in the tube, 2.25mm from the end. You can make the spot by putting the tube into the Oldham coupler and tightening a grub screw gently to score the tube. This allows the grub screw in the Oldham coupling to pass through to the flat on the gearbox shaft. Alternative method: Just use a flat file across the end of the tube until you have the correct sized opening. |
 | Step 6. Drill out the gearbox mounting lugs with a 4mm drill bit. This makes the hole slightly oversized which allows some movement in the gearbox to align it perfectly with the Oldham coupling. |
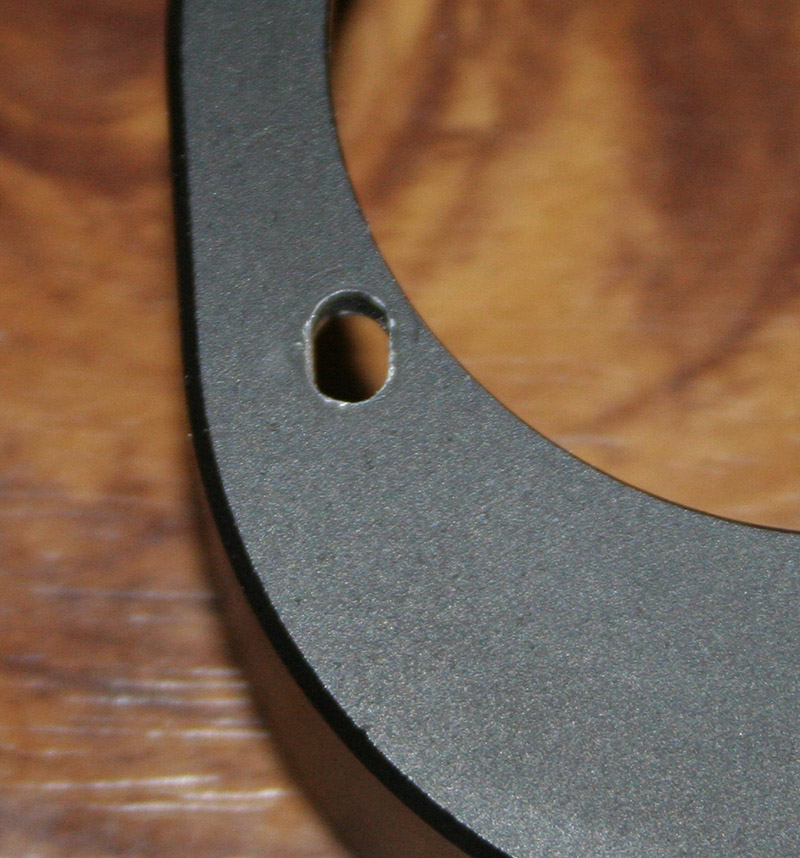 | Step 7. The gearbox cover will need its mounting holes elongated by about 1-2mm as the motor sits in a slightly different position from the original gearbox. |
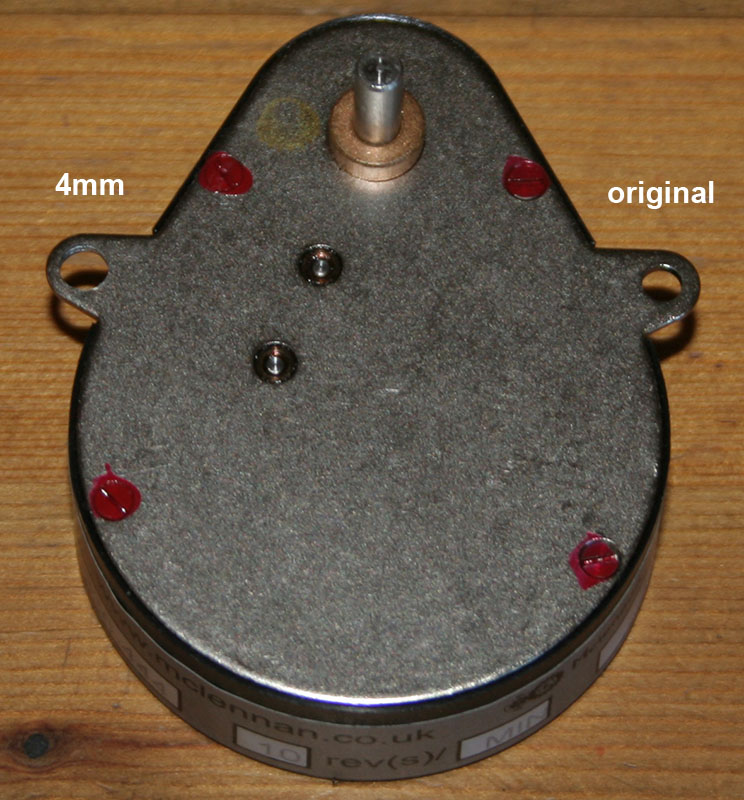
 | Step 8. The motor has four plastic lugs that stick out from the base, these should be trimmed off with a knife so the motor sits square to the gearbox. Only two shown in the photo. |
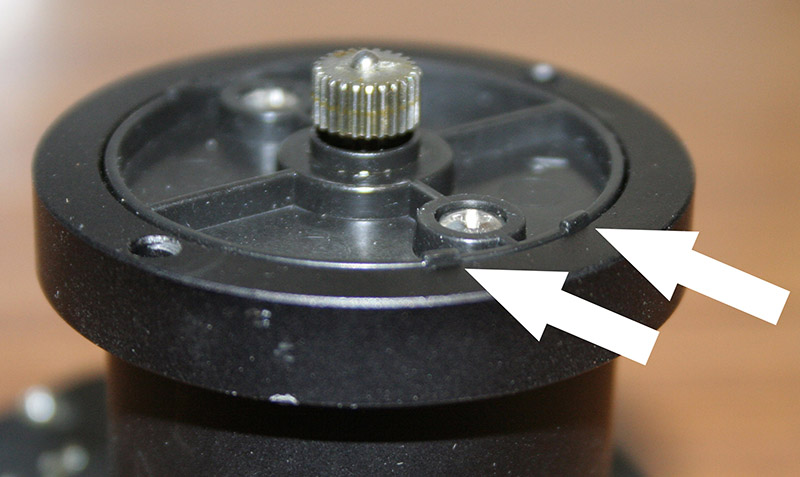
 | Step 9. Reassemble the gearbox and motor to your G11 mount. Use the new M2.5 x 16 Allen screws to attach the motor. As the new screws are slightly undersized, put a wrap or two of tape around them where they fit through the motor housing. The motor is in a very slightly different position, so only tighten the gearbox cover screws after you have fitted the motor. |
| Step 9. Reconfigure your Gemini system. If you have replaced both gearboxes simply change the mount type to MI-250. If you have only replaced the RA gearbox then set the custom mount worm to -360 (G11 default is +360). Conversely if you have a MI-250, then simply change the mount type to G11. | |
| Step 10. If you use the ASCOM Gemini driver, change the setup to define the mount type as 'Custom' or 'MI-250'. If you do not do this you will find the mount starts tracking backwards after you connect your computer to Gemini and the driver sets the mount type back to G-11! |
P5-G11 Gearbox Internals
The P5-G11 gearbox has a three stage reduction, the stages are:
- Motor to first gear: 24:40
- second stage: 1:5
- third stage: 20:60
This means that the ratios expressed as fractions of the output are:
- Motor: 25:1 = 9.57 secs
- 2nd : 15:1 = 15.96 secs
- 3rd : 3:1 = 79.78 secs
Unlike the Losmandy gearbox all the ratios are integer to the worm period, and so should be candidates for removal via PEC .
List of parts/suppliers
McLennan Gearbox - I got mine from RS Components, part number 336-444. You can order for delivery, or they have trade counters around the UK where you can pick up your order then next day.
Pinion puller - Revolution Models - these pullers are available from many places, in two sizes, 'standard' and 'micro'. As both sizes overlap and will fit a 2mm shaft it doesn't matter which one you get. Mine is the 'standard' size.
M2.5 Stainless Allen Screws - I got mine from BoltMeUp - they are M2.5 x 16mm, though the 12mm long ones would probably do.
3/16" x 0.014" Tubing - Any model shop that stocks K&S Metals. Either brass or Aluminium I do not think it really matters. I got mine from Cheshire Models.
Back to my G11/Gemini Tips Page
back to top