Wilmslow Astro
Astronomy from a Cheshire suburb
Observatory Build
A work in progress (21 Oct 2007). I'll document here the pains and progress of building an observatory in my back garden.
Shed Selection
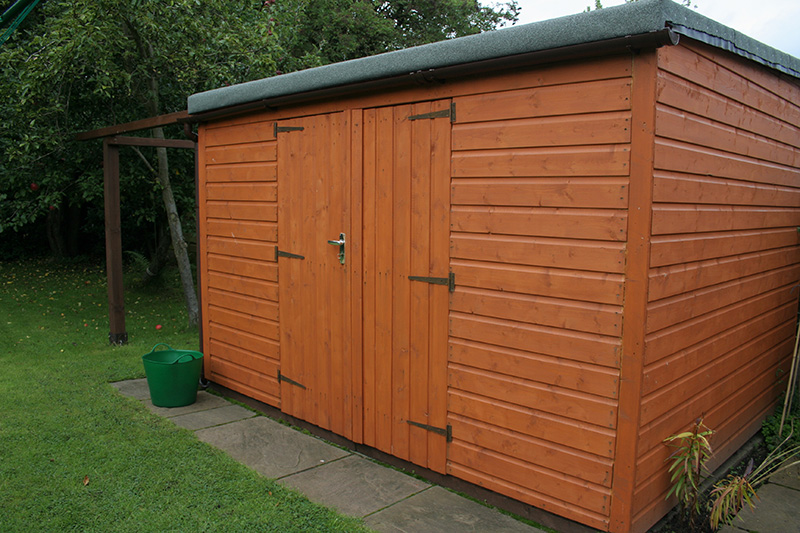
I decided to opt for a pre-built shed and modify the roof. I looked for a pitched roof shed that had: a door that did not protrude up into the apex part of the side walls; and a frame that finished level (internally) all the way round. I could not find one, so plan B, use a pent roof shed.
The criteria I wanted to satisfy were; 3x2" internal framing (the roof forms part of the structure of most sheds, and without it they need additional bracing), no windows, nice strong construction. I eventually found one that seemed to offer everything I wanted (and at a good price) from a manufacturer from the Birmingham area who sells on ebay. I ordered an 8x10' pent roof, no windows, and the doors in the low wall (I want the low wall to face south, the mount to be offset to one end, and the other end wall to be clear for using as desk and storage area).
Pier Revisited
When I first put my C14 on the G11 on my original pier, I thought 'Oh dear, the mount really isn't up to this at all' - it was a bit wobbly to say the least. Then I went to Kelling Heath (Sept 2007) and used the C14 with the G11 on its field tripod - it wasn't bad at all, much better than the pier! So, the 6" steel pier had to be upgraded.
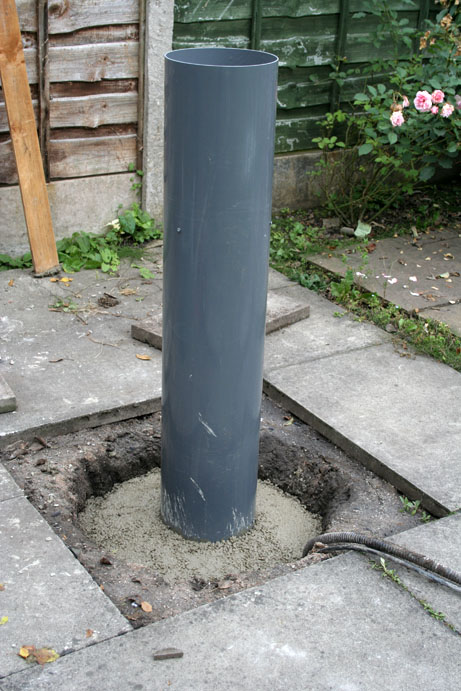
6-7 October 2007: First I dug out around the existing concrete and poured in some more.
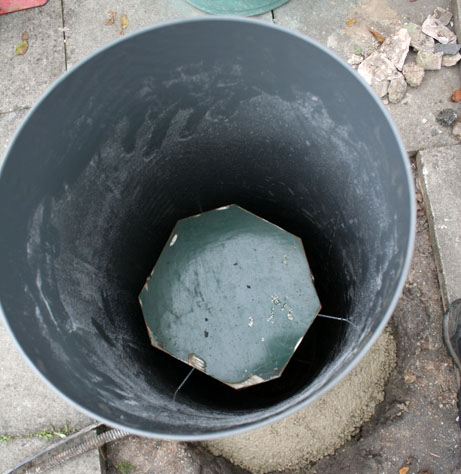
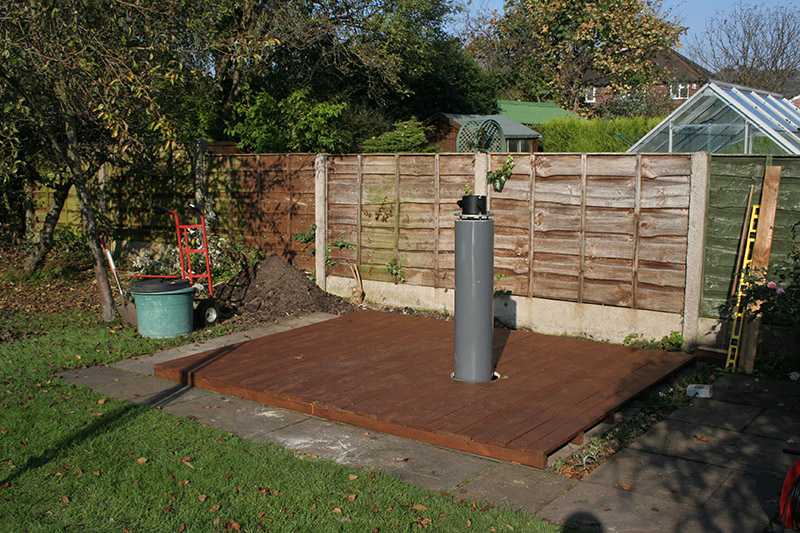
Then a 10" PVC pipe was placed over the existing steel pier and the gap between the two filled with more concrete. I took the opportunity to make the pier a bit higher too.
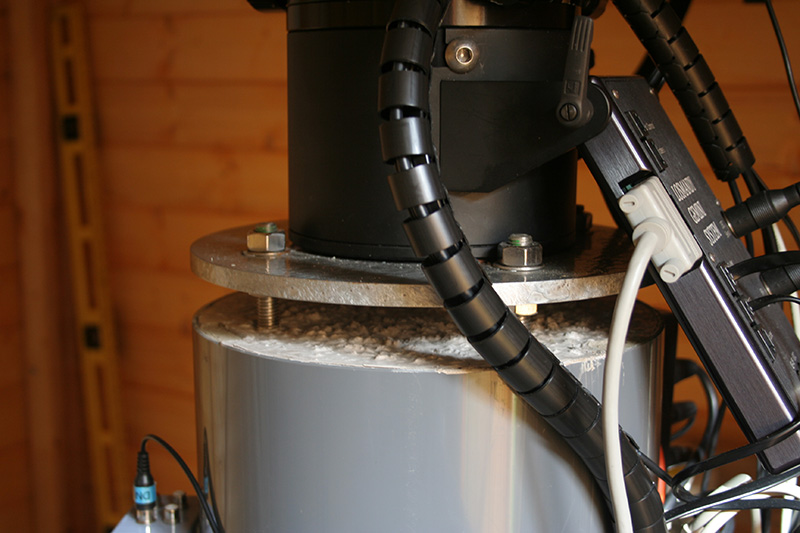
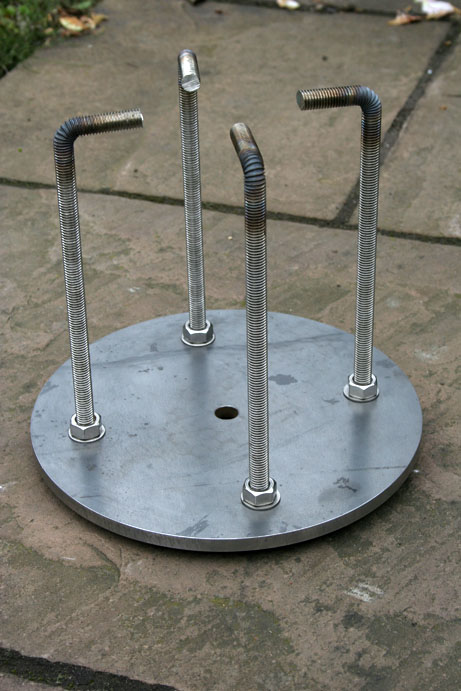
I had a new 10" diameter steel top plate made by Ambermile, and four 12" lengths of M12 stainless studding had a 2" elbow bent in them by Mike Cook, and these were set in the top part of the new concrete pier.
I've test run the new pier and the C14/G11 combo on it is now quite stable :)
Initial Shed Build
20-21 October 2007: Over the weekend I started the shed build...
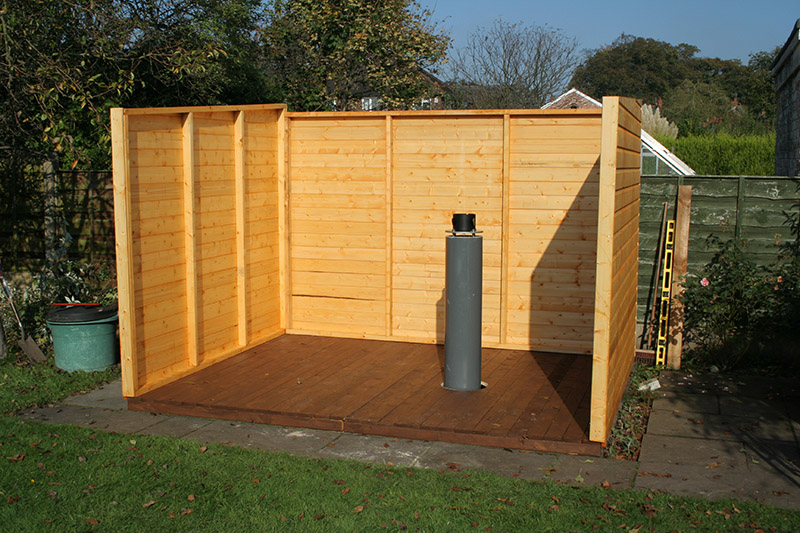


And hit the first snag - the roof panels don't fit. It seems like the front and back walls are 3" too low (the roof panels need to go over the side walls, when I was putting it up I thought they would slot in the gap you can see). Edit: The walls are correct, my mistake. I have put a couple of lengths of 3x3 on top of the front and rear walls to fill the gap and act as the runners for the roof rollers.
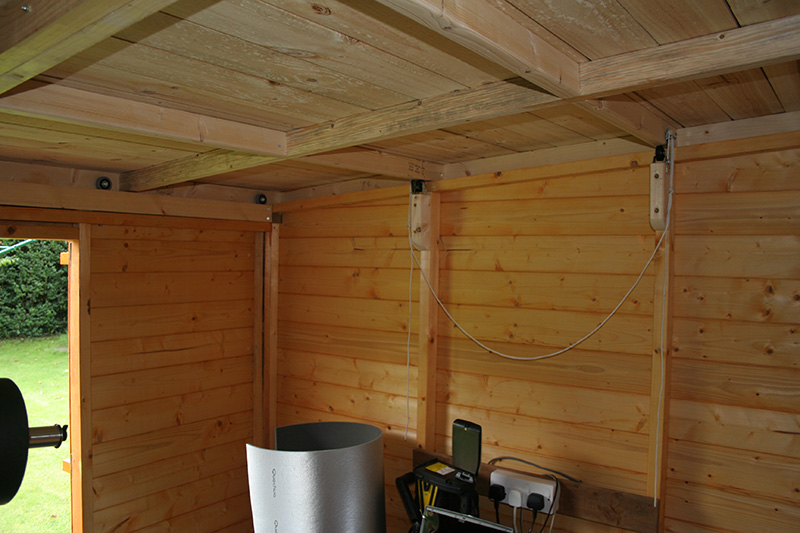
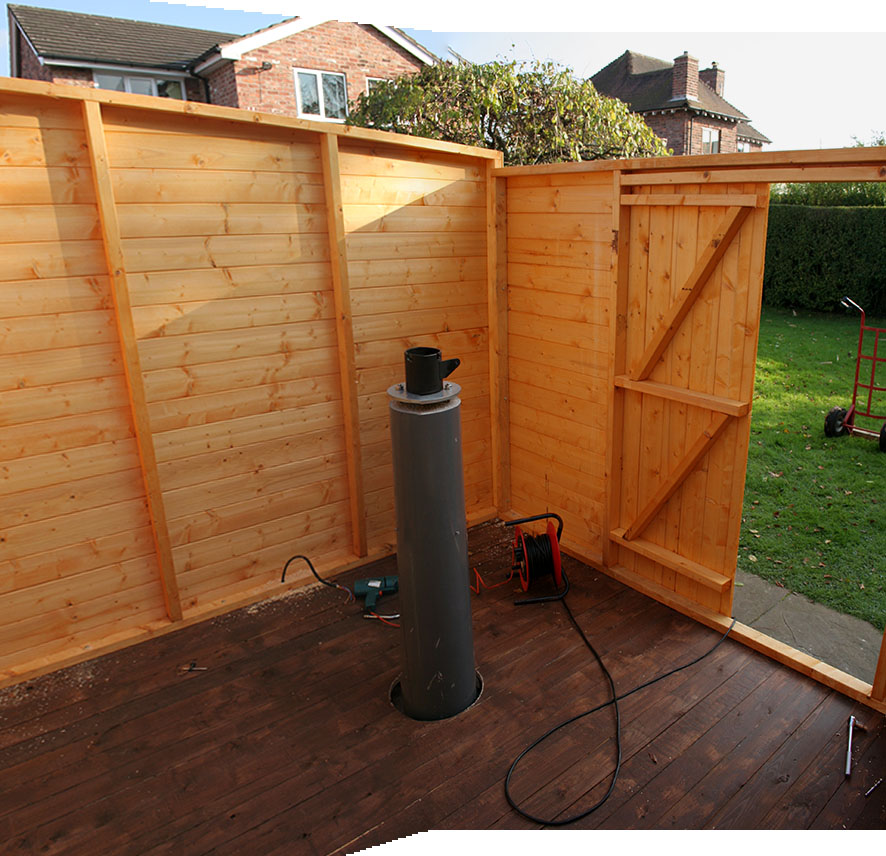
The electrics started to go in this weekend as well. A consumer unit with RCD and some power sockets at the desk end of the shed. They are temporarily mounted on wood battens at the moment, final fitment will have to wait until the lining is fitted (if it ever is). The plan is to put multiple 12V DC sockets around the shed (fed from a 20A 13.8V PSU) and power as much as I can from this (safer in the damp) and leave the mains for the computer.
The roof is now rolling, I used a number of rubber tyred ball race rollers to run on top the front and rear walls (remember the 3x3 timbers I put in). To deal with the inevitable sag in the roof I have added a pair of cheap rollers to the side walls, these run on noggins I have fitted between the roof frame timbers.
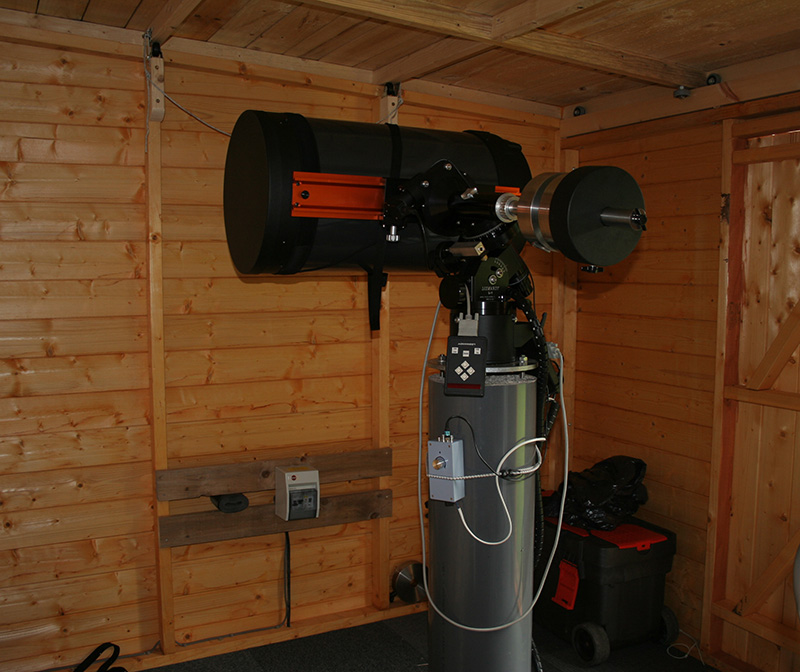
Almost Done
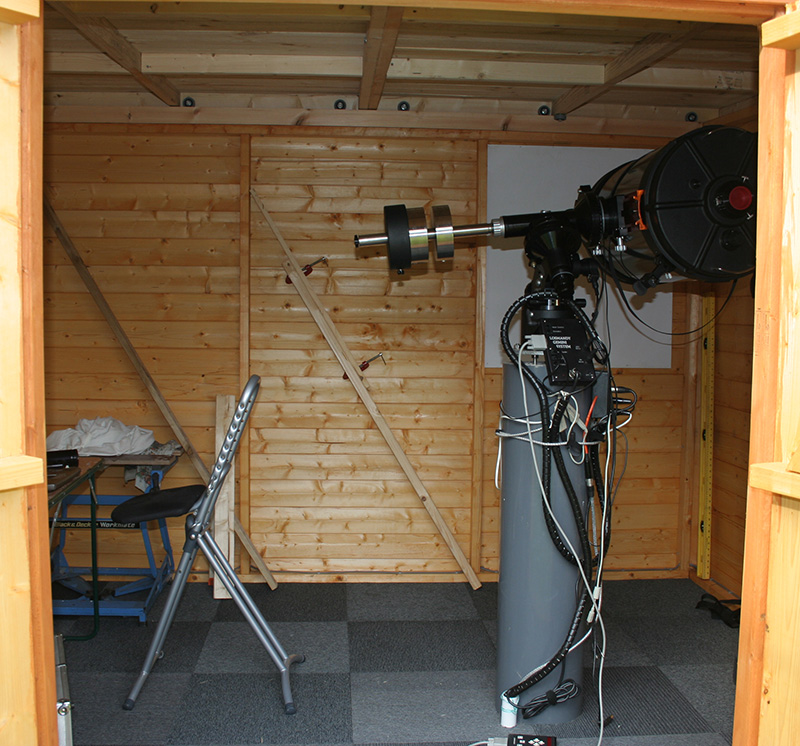
Well most things are in place, here are some pictures with the C14 in place. You can just see the roof rollers on the internal shots, and the frame that the roof rolls on to in the external shots.
You can see the simple padlock hasps I have used to secure the roof and the rollers on the end walls that run on the nogins to 'lift' the roof over the walls if it sags slightly. As you can also see the C14 sits too low down, I will have to add about a 10" pier extension to lift it up to see over the South wall better.